
Reviewed · HIKING & TREKKING
Moab: The Windows Astro-Photography and Stargazing Hike
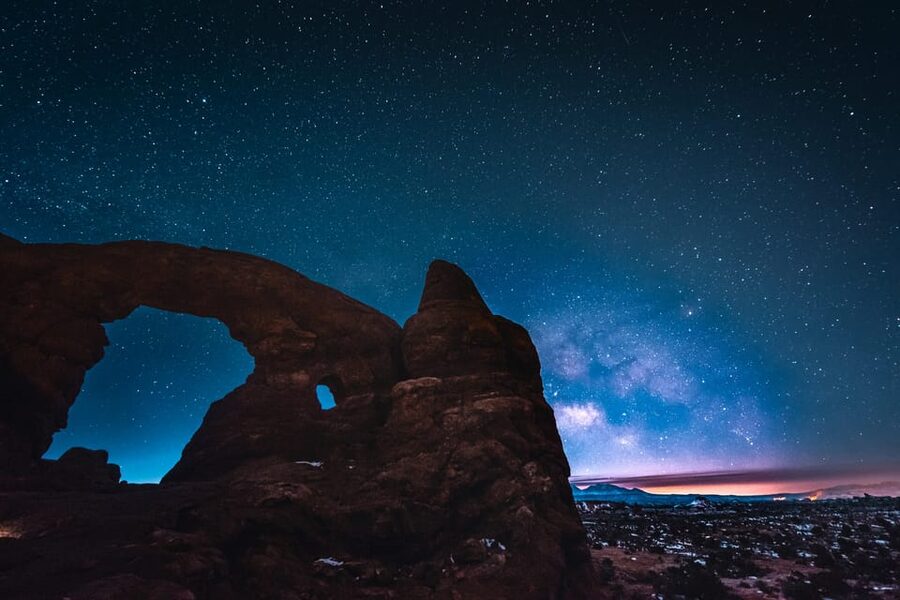
Night sky above Arches? Yes, and it feels close. This Moab Windows astro-photography and stargazing hike takes you away from city glow and into the dark at the right time to make the sky look different. You’ll hike past the rock formations people come for in daylight, then learn how to translate that same wonder into Milky Way photos you can actually be proud of.
Two things I really like: first, the night-gear basics are handled for you with red LED headlamps and tripods (so you’re not juggling “equipment plus panic” in the dark). Second, the guide coaching is built around real shooting—how to use your camera or your phone after dark, not just a quick talk about stars. If you want to level up, you can also rent a DSLR camera and/or compatible lens before you start.
One consideration: this is a genuine after-dark hike (about 2 miles), and it’s not for everyone. If you don’t do well walking on uneven ground in low light—or if you’re dealing with mobility limitations or young kids under 6—look for a different style of experience.
In This Review
- Key reasons this hike is worth your attention
- Arriving at the Windows trailhead after dark
- What the first part of the hike is really for (it’s not just walking)
- North and South Windows and Turret Arch: where the stars meet the stone
- Lunar cycle reality check: brightness changes your photos
- The practical astrophotography coaching you’ll use right away
- DSLR rental options: when it’s worth paying extra
- Double Arch: the main event after you’ve learned the basics
- Walking distance, trail feel, and what to expect physically
- Safety and comfort: why the guide matters more at night
- The kind of stars you might see (and why it’s okay if they’re not the same every night)
- Photos, patience, and the “getting it to work” moment
- Price and value: is $175 per person a good deal?
- Who this tour fits best (and who should skip it)
- Should you book this Moab Windows astro-photography hike?
- FAQ
- Where is the meeting point for the tour?
- How long is the guided hike?
- How far do you hike during the experience?
- What’s included with the tour price?
- Do I need an Arches entry pass?
- Can I rent a DSLR camera or lens?
- What should I bring with me?
- Are pets allowed on this hike?
- Is there a cancellation policy?
Key reasons this hike is worth your attention
- Small group up to 6 people, so you’re not competing for attention when it’s time to shoot
- North and South Windows plus Turret Arch, then practice shots before Double Arch
- Hands-on astrophotography basics tailored to your device (camera or smartphone)
- Red LED headlamps and tripods, which matter more than people think for night photos
- You can rent DSLR gear for a bigger upgrade if you’re serious about image quality
More dark-sky nights over the desert
- Astro-Photo, Hiking and Stargazing Tour in Arches National Park★ 5.0 · 63 reviews
- Sunset and Night Photography in Arches National Park★ 5.0 · 23 reviews
Arriving at the Windows trailhead after dark
Meet your guide in the Windows parking area, in the first lot on the right. You’ll start after dark, so plan to arrive a little early to get oriented without rushing. The setting is Arches National Park, but in the dark it feels like a different park. The trails don’t look the same, and that changes how you pay attention to your footing—and your photos.
The big win here is that you’re not just sightseeing stargazing style. You’re hiking through a rock garden with the chance to photograph rock arches lit by starlight and possibly faint moonlight. That combination is why the Milky Way with the naked eye becomes more than a gimmick. When you’re far enough from city lights, the sky isn’t subtle anymore.
You also get immediate help with night vision. The included red LED headlamps keep you seeing your steps while not wrecking your eyes for star viewing. That’s not a small detail. In a dark-sky setting, being able to see the stars and still walk safely is the whole ballgame.
What the first part of the hike is really for (it’s not just walking)
At the start, you’ll be set up with headlamps and tripods as needed. Then the guide shifts into fundamentals: how to operate your camera (or phone) so you’re not guessing your way through darkness. You’ll also learn what to do when your eyes adjust, because night photography is as much timing and settings as it is inspiration.
This early phase matters for one reason: it builds your confidence before you hit the main photo moments. By the time you’re moving deeper toward the big arches, you’ll have a sense of how long to expose, how to frame the sky, and how to keep your shot steady.
And yes, the route includes time where the night sky can look different than what you see with your naked eye. That’s where practice helps. The photos you capture may pick up light that your eyes don’t notice at the time, and that’s a normal part of shooting at night.
North and South Windows and Turret Arch: where the stars meet the stone
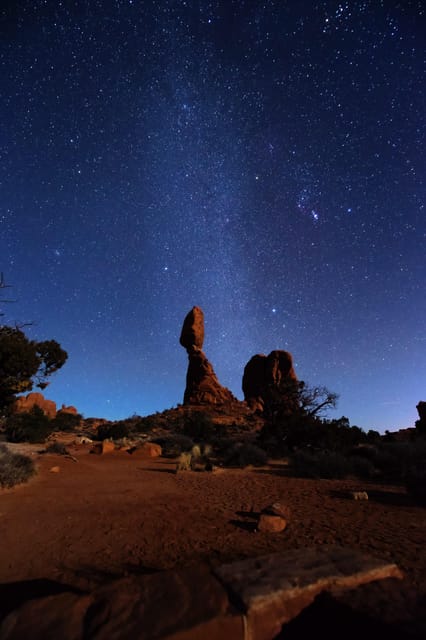
As you follow your guide through the dark, you’ll pass some of Arches’ most iconic forms: the North and South Windows and Turret Arch. In daytime, these are famous because of shape and framing. At night, they become something else. The arches act like natural picture frames for the sky above, and that changes your whole approach to composition.
What I like about this portion of the tour is the pacing. You’re not sprinting from stop to stop. You’re walking, stopping, learning, then trying again. The guide also helps you understand the scale of the geology—how extreme forces created these arches—so you’re not only photographing a pretty view. You’re photographing a place with a story, and your photos look better when you know what you’re aiming at.
This part is also where the small-group vibe shows. With limited participants, it’s easier for the guide to help troubleshoot. If your framing is off or your settings aren’t giving the result you hoped for, you get the kind of direct feedback that helps you fix it fast.
Lunar cycle reality check: brightness changes your photos
One thing the guide emphasizes is that any point in the lunar cycle can work. That sounds contradictory until you think about it. A darker sky tends to make stars and the Milky Way pop. But moonlight can add a different kind of glow and texture to the arches themselves.
You’ll likely see different outcomes depending on conditions. Some nights offer a clearer, darker background for star detail. Other nights, a fuller sky can make the arches look more defined and still very photo-worthy. Either way, the guide’s coaching helps you adapt, so you’re not stuck with one “perfect” scenario.
Also, a real highlight from the experience is how flexible it can be with devices. In the group, you might end up getting help shooting with your smartphone, not just a camera. The takeaway is simple: night photography isn’t only for DSLR owners.
More desert trail time
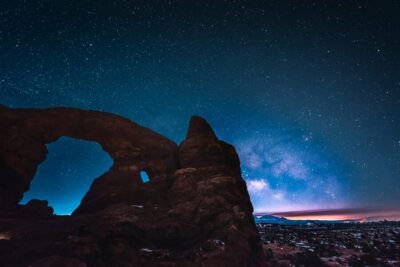
The practical astrophotography coaching you’ll use right away
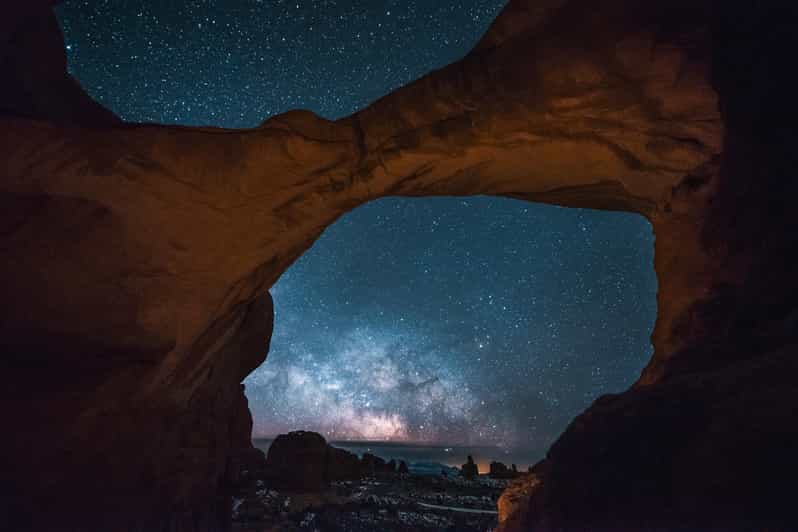
The tour focuses on fundamentals you can apply the same night or later at home. Expect to learn how to work your camera in the dark and how to plan shots so you don’t waste time. Key themes you’ll practice include:
- Getting steady: tripods help, especially when exposures run longer
- Framing: placing the sky and arches in a way that looks intentional, not random
- Exposure thinking: adjusting so stars don’t smear and the scene doesn’t blow out
- Phone options: using smartphone features and settings to capture good results when stars are visible
It’s a bonus if you don’t own fancy gear. The tour is set up so you can still participate meaningfully with what you’ve got. And if you do own gear—or you want to go big—the optional rental can push your results further.
DSLR rental options: when it’s worth paying extra
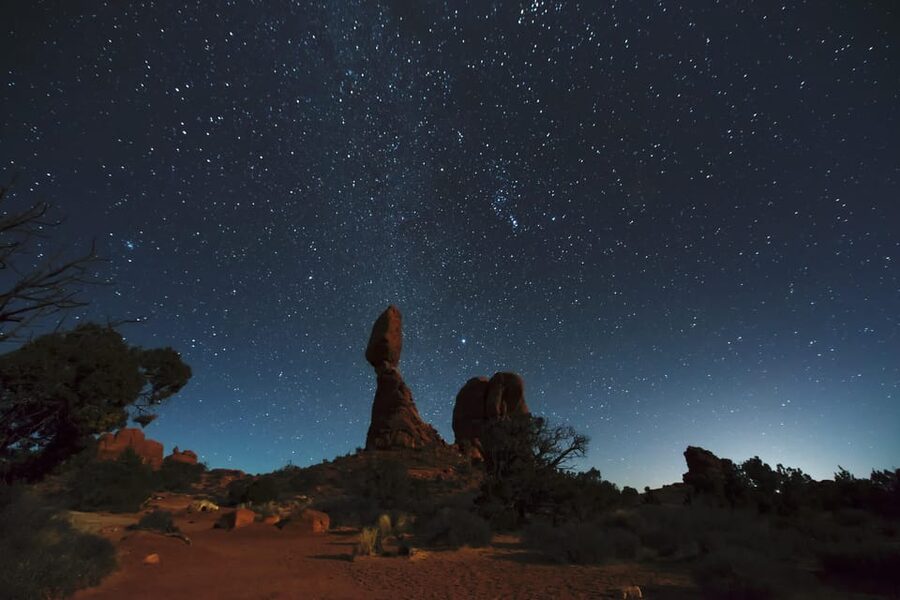
Before the hike starts, you can request DSLR camera and/or DSLR lens rentals for an additional fee. The mounts supported include Canon EF/EFS and Nikon F mounts. If you’re the type who likes to control image quality—sharpness, low-light performance, and lens choice—this can be a worthwhile upgrade.
If you’re not sure whether you need it, consider your current setup:
- If you already have a DSLR and you know how it behaves at night, you might skip the rental.
- If you only have a phone, the coaching becomes your main value, and the rental becomes optional rather than required.
Either way, the goal isn’t to sell you on more equipment. It’s to help you leave with images that match the memory you’re making on the trail.
Double Arch: the main event after you’ve learned the basics
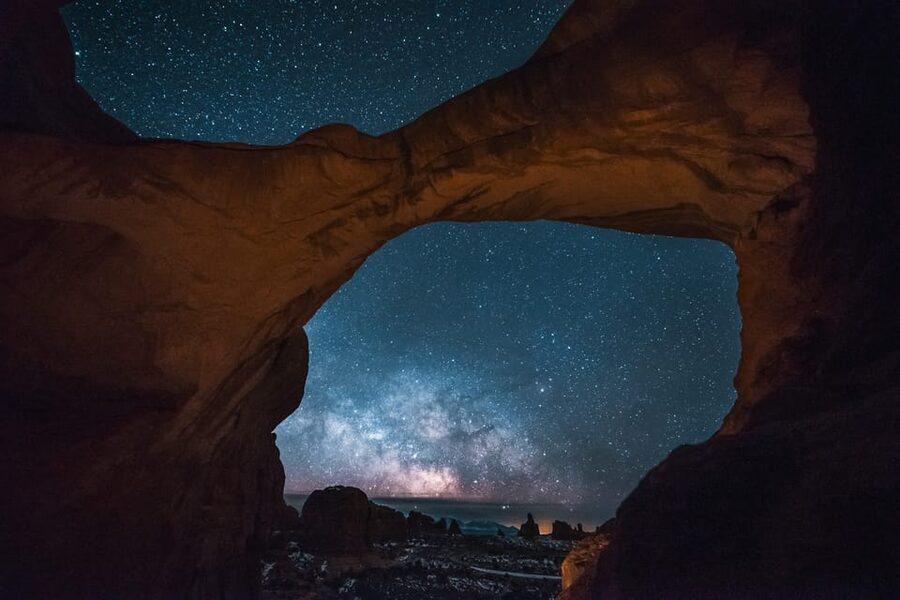
The highlight of the route is Double Arch. This is where you want your best effort, because it offers a strong shape beneath a sky full of stars.
A smart feature of the tour plan is that you get time to practice before you reach the main shot. That reduces the most common problem in night photography: arriving at the place you came for, setting up too late, and missing your chance because you didn’t test settings earlier.
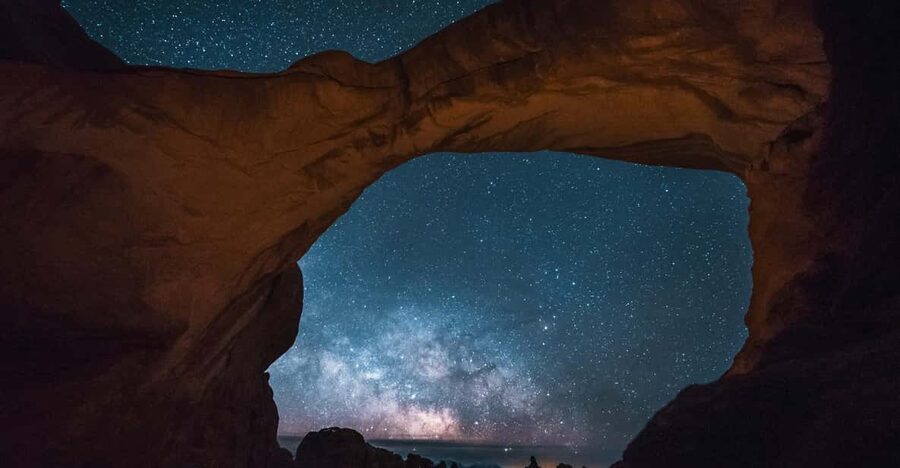
Double Arch is also where you start thinking like a photographer, not just a hiker. You’ll likely experiment with framing the arches so they feel connected to the Milky Way overhead. This is the part of the tour where the stars feel like part of the monument, not a separate background.
Walking distance, trail feel, and what to expect physically
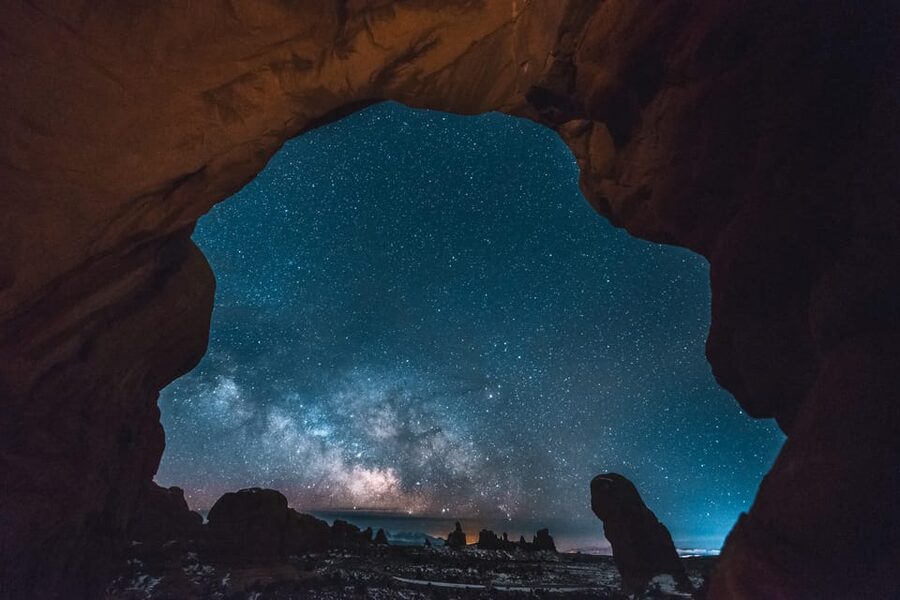
This activity starts from the Windows trailhead and involves roughly 2 miles of hiking. You’re moving at night, on uneven ground, and you’ll likely spend time stopped for shots and adjustments. Even though it’s only about 2 miles, it can feel longer because you’re not just covering distance—you’re pausing, shooting, and waiting for the right timing.
Bring hiking shoes. I’d treat this like a dark-sky walk where footing matters. The headlamps help, but you still need proper shoes and a careful pace.
Also bring water and a charged smartphone. Even if you’re shooting with a camera, your phone is a backup tool and often part of how you check framing, settings guidance, or additional shooting tips.
Safety and comfort: why the guide matters more at night
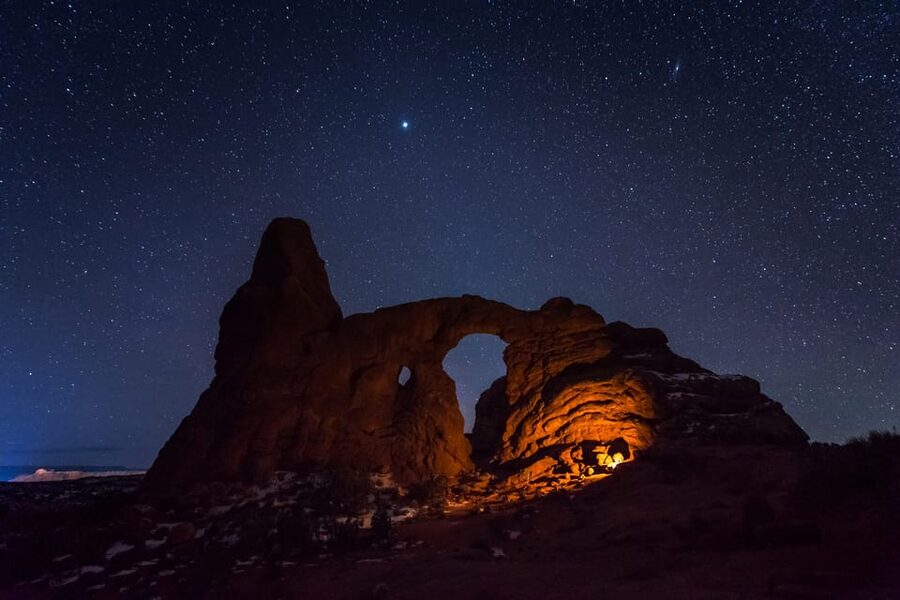
The reason these tours work isn’t only the sky. It’s how you’re guided through darkness. With small groups, your guide can keep track of where everyone is and help you stay aware of drop-offs and tricky areas.
From what I’ve learned about the experience, the guide’s job is twofold: get you great photos and keep the hike smooth. People also note how patient guides are while working with different comfort levels, especially if someone is learning a camera or trying phone photography for the first time.
The kind of stars you might see (and why it’s okay if they’re not the same every night)
You’re going to be aiming for the Milky Way, and on clear nights it’s often visible to the naked eye. That’s the baseline you should plan for: you came for a dark-sky look, and that’s what you’ll try to capture.
Beyond that, nature can add extra surprises. One night someone in the group reported northern lights visibility, and that’s exactly the kind of thing that can happen in the right conditions. On other nights, a full moon can change the look of the sky while still making everything feel magical.
The key is that you’re learning how to adapt. Night photography is never perfectly predictable, and that’s why the coaching is so useful.
Photos, patience, and the “getting it to work” moment
There’s a specific kind of satisfaction in night photography when a shot finally lands—when the stars look crisp, the composition holds, and the arches don’t turn into shadowy blobs. This tour is designed to create those moments with enough guidance that you aren’t stuck alone with your settings.
A couple of people also mention extra touches like viewing through a telescope and getting help with editing some images. Those are not the same as the core service, but they’re examples of the kind of enthusiasm guides bring to the experience when it’s available and conditions allow.
Even if you don’t get a telescope moment, you should expect to leave with new skills you can use again. That’s where the experience becomes practical value, not just a one-time viewing.
Price and value: is $175 per person a good deal?
At $175 per person for a 2-hour small-group hike, you’re paying for three main things:
- A guide who knows night photography and helps you troubleshoot
- The dark-sky setting and the route timing for star shooting
- Included equipment like red LED headlamps and tripods
Then there are separate costs that matter for budgeting:
- Arches entry pass (standard vehicle is listed at $30)
- Transportation to the meeting point
- Optional DSLR rental if you want it
When it feels like good value: if you want help getting real night shots, not just looking at the sky, and if you like the idea of turning this into an actual skill. If you’re already comfortable shooting astrophotography and you travel independently with your own gear, you may find cheaper options elsewhere. But for most people, the guided “how to” is the difference between leave-with-a-photo and leave-with-a-story you can repeat with your own setup.
Who this tour fits best (and who should skip it)
This hike is best for you if:
- You want Milky Way photos and you’re excited to learn
- You’re open to night walking for a short distance
- You enjoy hands-on learning with a small group
- You’re willing to bring camera (or smartphone) and hiking shoes
It’s not suitable if:
- Your child is under 6
- You use a wheelchair or need mobility support not aligned with uneven ground
- You’re looking for a fully seated stargazing option
- You’re traveling with pets (pets aren’t allowed)
If you’re unsure, think about whether you can comfortably walk about 2 miles in the dark, stop often for photos, and handle uneven terrain for brief periods. That’s the real “fitness test” here.
Should you book this Moab Windows astro-photography hike?
If your goal is to see the night sky in a dark-sky setting and come away with photos that look like you meant them, I’d book it. The included red headlamps and tripod setup take away common beginner barriers. The guide coaching makes this more than scenery—it’s a skill-building night hike aimed at real results.
Book it especially if you’re traveling with friends or couples and you want everyone to get a turn learning and shooting, not just watching. If weather is clear and you’re ready for a short hike after dark, this is a strong value choice for Arches at night.
If, however, you dislike walking on uneven ground in darkness or you need a fully accessible route, skip it and look for a different stargazing style that matches your comfort level.
FAQ
Where is the meeting point for the tour?
Meet at The Windows parking area in the first parking lot on the right.
How long is the guided hike?
The tour lasts about 2 hours.
How far do you hike during the experience?
The activity starts from the Windows trailhead and involves roughly 2 miles of hiking.
What’s included with the tour price?
Included items are the guide, the walking tour, red LED headlamps, and tripods if needed.
Do I need an Arches entry pass?
Yes. An Arches entry pass is not included (listed as $30 per standard vehicle).
Can I rent a DSLR camera or lens?
Yes. DSLR camera and/or compatible DSLR lens rentals are available for an additional fee before the start of the tour. Supported mounts include Canon EF/EFS and Nikon F mounts.
What should I bring with me?
Bring your camera, hiking shoes, water, and a charged smartphone.
Are pets allowed on this hike?
No, pets are not allowed.
Is there a cancellation policy?
The tour offers free cancellation up to 24 hours in advance for a full refund. It also offers reserve now & pay later.
More Desert Trails
- Astro-Photo, Hiking and Stargazing Tour in Arches National Park
★ 5.0 · 63 reviews - Arches Full Day Private Tour & Hike
★ 5.0 · 49 reviews - Private full day tour and hike combo.
★ 5.0 · 34 reviews - From Moab: Arches National Park 4×4 Drive and Hiking Tour
★ 4.6 · 31 reviews - Unique Secluded Sunset In Moab: Canyonlands by 4×4 & Hike
★ 5.0 · 20 reviews
More Tour Reviews in Moab
- HIGHLY RATED U-DRIVE Moab Hell’s Revenge UTV Off-Road Adventure
★ 5.0 · 3,107 reviews - Arches National Park 4×4 Adventure from Moab
★ 5.0 · 2,014 reviews - Moab: Colorado River Dinner Cruise with Music and Light Show
★ 4.5 · 1,302 reviews - You-Drive 4×4 UTV Adventure–Hell’s Revenge & Fins N’ Things, Moab
★ 5.0 · 1,114 reviews - Canyonlands National Park Half-Day Tour from Moab
★ 5.0 · 1,074 reviews
Under Moab Dark Skies
- Astro-Photo, Hiking and Stargazing Tour in Arches National Park
★ 5.0 · 63 reviews - Sunset and Night Photography in Arches National Park
★ 5.0 · 23 reviews
Fresh Off the Trail: Newest Moab Reviews
- Discover The Hidden Arches: Solitaire Arches Hike & 4×4 Fun
★ 5.0 · 4 reviews - Moab: Zip Line Adventure
★ 5.0 · 4 reviews - Canyon Country Sunset Helicopter Tour – 60 minutes
★ 5.0 · 4 reviews - Canyonlands National Park Self-Guided Audio Tour
★ 4.0 · 5 reviews - Moab: Canyon Country Sunset Helicopter Tour
★ 4.2 · 5 reviews - Canyoneering Morning Glory Arch
★ 5.0 · 5 reviews
Hiking & Trekking, compared.
 ★ 5.0Astro-Photo, Hiking and Stargazing Tour in Arches National ParkFrom $17563 reviews
 ★ 5.0Arches Full Day Private Tour & HikeFrom $97249 reviews
 ★ 5.0Private full day tour and hike combo.34 reviews
 ★ 4.6From Moab: Arches National Park 4×4 Drive and Hiking TourFrom $33731 reviews
 ★ 5.0Unique Secluded Sunset In Moab: Canyonlands by 4×4 & HikeFrom $18920 reviews
 ★ 5.0Arches National Park Hike Challenge: Tackle Devils Garden 7m LoopFrom $31512 reviews
 ★ 5.0Private Guided Hike in Arches National ParkFrom $28012 reviews
 ★ 5.0Arches Full Day Small Group Tour & HikeFrom $42711 reviews
Browse the lists this tour appears in